Get your website in $5 per month [Part 3]
In the last 2 parts of our Budget Website series we have worked on getting a domain name and a hosting server and how to point your domain to the hosting server. In this part we will look at how to actually power up your hosting server so that it can start serving your website.
We will be using WordPress for our content management system to create our budget website. WordPress is a free and open source platform to create websites and blogs and is very easy to use. There is a lot of material on the internet on using, customizing and managing WordPress sites. There are a number of various themes and plugins both free and premium which can be used on WordPress for your specific needs.
The secret sauce to run a decent performance WordPress website on an average server hardware is to use the Nginx web server. Nginx is again a free and open source web server and is pretty light weight. Although configuring Nginx web server can be tricky, but we are in luck as there is a GUI based control panel — Vesta which will do most of the heavy lifting for us.
The main requirements for WordPress are PHP and MySQL. Vesta Control Panel takes care of installing all the required components plus some additional features to harden and secure your server. Let’s start with installing Vesta on our hosting server.
Installing Vesta Control Panel
Connect to your server via SSH and go to the /tmp directory
$ ssh username@x.x.x.x
$ cd /tmp
Once you are in the /tmp directory download Vesta package using the following command. This command will always download the latest version of Vesta
$ curl -O http://vestacp.com/pub/vst-install.sh
After the package is downloaded, while still in the /tmp folder, use the below command to start Vesta Control Panel installation.
$ bash vst-install.sh -f
During installation process you will be asked for some information like email address, password to access the control panel. Remember the credentials that you have enter. These will be used to access Vesta Control Panel. The installation will take a few minutes. After the installation is complete you will see all the details of Vesta Control Panel and how you can access it.
Generally you can access Vesta installed on https://x.x.x.x:8083/ — where x.x.x.x is the public IP of your server. Also, you have to make sure that you access the control panel on 8083 port via “https” else the it will be inaccessible.
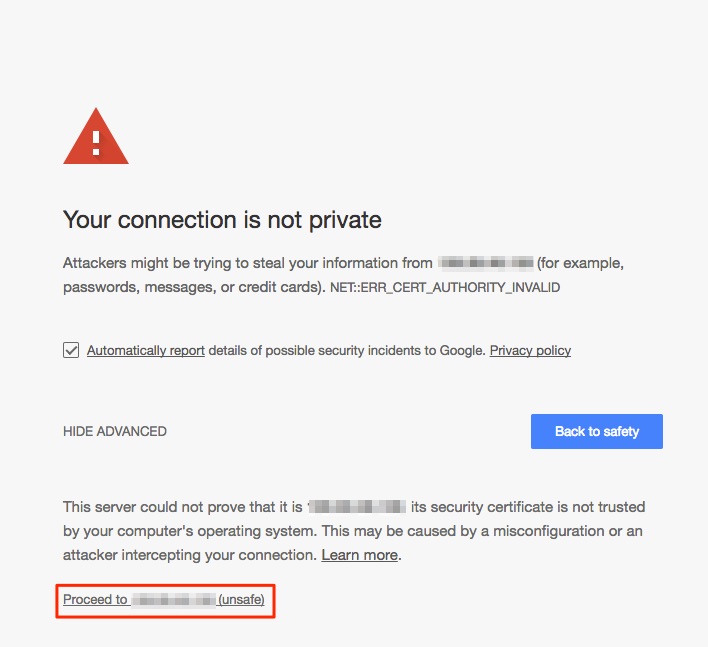
When you access the control panel URL you will notice that the browser gives you a “Your connection is not private” error. Don’t worry; this is because Vesta expects that the control panel is access only via HTTPS but we don’t have an SSL certificate installed. Since this is your own server and you know what to expect you can click on “Advanced” link and then click on “Proceed to x.x.x.x (unsafe)” link.

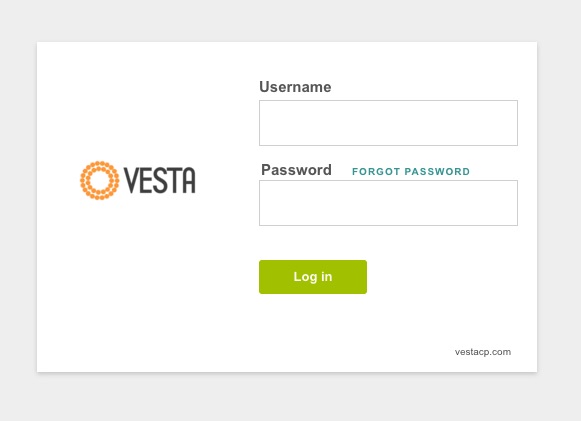
Once you have proceeded to the control panel you will now be prompted to enter your username and password. These are the ones that you had given at the time of installation. Enter your username and password and login to Vesta Control Panel

That’s it. You have now successfully configured your server with web server, database and all other pre-requisites required for your budget website. In the next part we will look at how create the actual website, database, and add an SSL certificate to your website. Stay tuned for more awesomeness ahead!
